
Teltonika
The AnyViz Cloud Adapter can be installed on Teltonika routers and gateways. The installation is done with a single command via the Teltonika web interface or via SSH.
Prerequisites
Before installing the Cloud Adapter, complete the device setup:
- Connect to the device via Ethernet
-
Open http://192.168.2.1 in a web browser (http://192.168.1.1 for RUT devices)
Default username: admin, default password: admin01 - Change the default password when prompted
- Ensure that an internet connection is established
Installation
The installation script is recommended for installing the Cloud Adapter. Proceed as follows to run it via the Teltonika web interface:
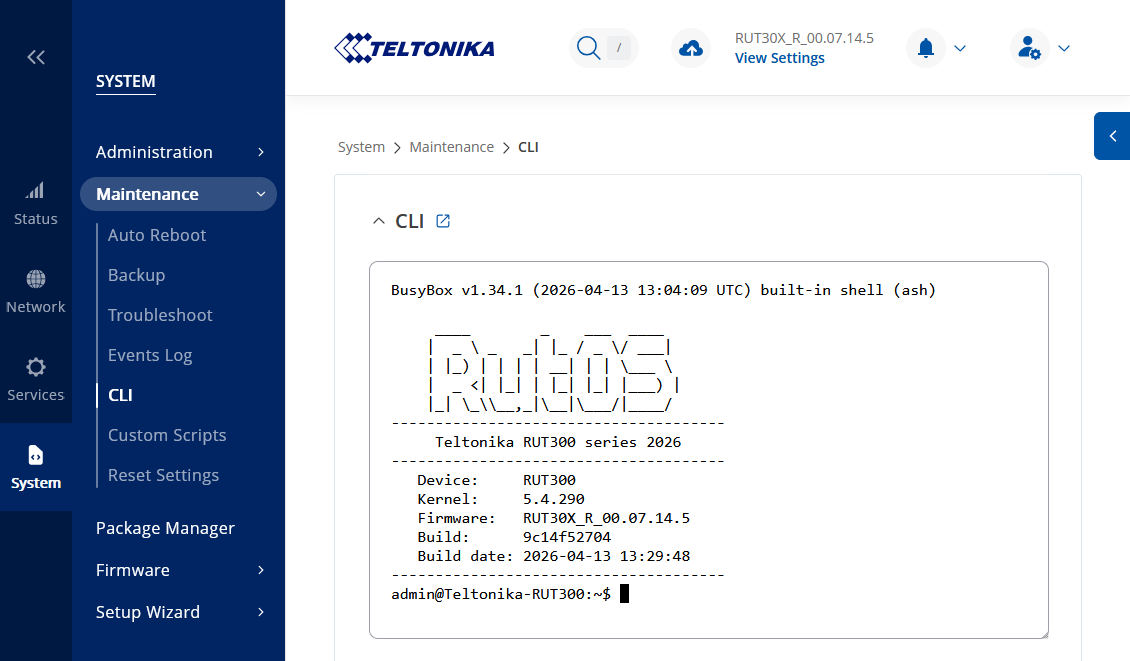
- Open the web interface of the router
-
If available, enable Advanced mode in the top right corner
Advanced mode only exists in firmware versions newer than 00.02.X up to RutOS 7.13 - Navigate to System → Maintenance → CLI (or type CLI in the search bar)
- Log in with the username root and the password of the web interface
- Enter the following command to start the installation (or right-click and select Paste from browser):
wget -qO - http://install.anyviz.io | sh
After the installation script has completed, the CLI output should look like this:
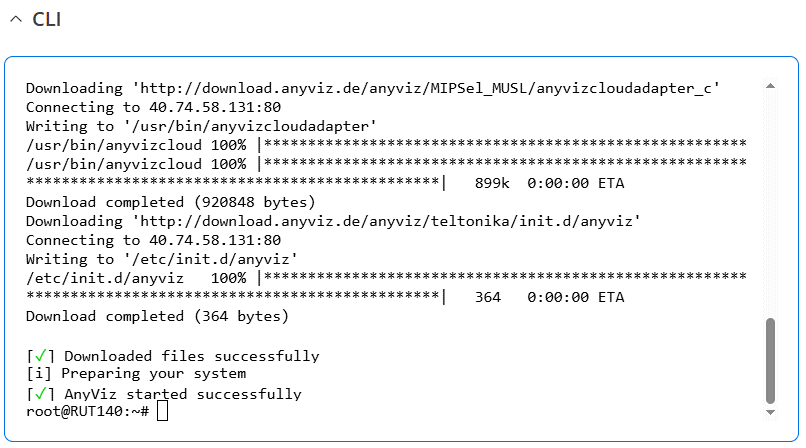
Setup
After successful installation, the web interface of the Cloud Adapter is available under port 8888 (e.g. http://192.168.2.1:8888). Enter the AnyViz project ID and an onboarding password there.
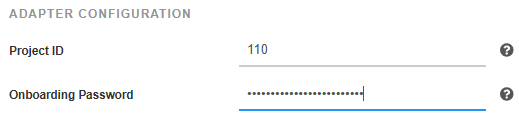 Universal Cloud Adapter
Note: Since Teltonika firmware 7, the Cloud Adapter can no longer be integrated into the menu of the router web interface.
Uninstallation
To uninstall the Cloud Adapter, run the following command as described under Installation:
wget -qO - http://install.anyviz.io | sh -s remove
Supported Devices
Teltonika Networks offers a wide range of devices, and AnyViz continuously tests compatibility with the different product lines. Although installation is possible on almost all Teltonika devices, some product lines are only recommended with restrictions.
TRB1 series
The compact gateways (e.g. TRB140, TRB141, TRB142, TRB143, TRB145) are powerful and cost-effective. They are best suited for the Cloud Adapter.
RUTX series
The RUTX routers are similar in performance to the TRB1 series.
Note: Firmware versions from 00.07.03 have compatibility issues that were fixed in version 00.07.09. Check whether a firmware update is required before installation.
RUT series and TRB2 series (2nd generation)
The popular RUT series (e.g. RUT140, RUT200, RUT206, RUT241, RUT301, RUT901, RUT906, RUT951, RUT956) and the universal TRB2 gateways (TRB246, TRB256) have been updated and now have a sufficient 128 MB of RAM. The CPU is significantly slower than in the TRB1 series, but sufficient for many projects. However, the flash memory is very small, which limits data buffering in the event of a connection failure.
Devices with limited recommendation
The following devices only have 64 MB of RAM. This is sufficient for small, cost-sensitive projects, but a router or gateway with more resources should be preferred.
- Discontinued TRB2 devices (e.g. TRB245, TRB255)
- Discontinued RUT3 devices (e.g. RUT300)
- Discontinued RUT series (e.g. RUT240, RUT950, RUT955)
Diagnose
In the event of a malfunction, check the following common causes of errors.
Internet connection
A working internet connection is required for both installation and operation.
To test it, navigate to System → Maintenance → Troubleshoot → Diagnostics, enter the address 8.8.8.8 and click Perform.
If response packets are displayed with 0% packet loss, the gateway is working correctly.
Repeat the test with the address google.com to ensure that the DNS server is working correctly.
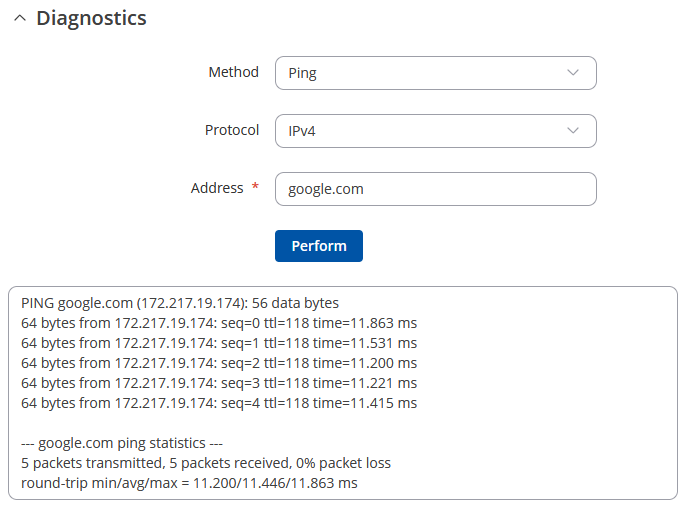
If no response packets are received, check the following:
- Is an internet gateway configured?
- Is a DNS server configured?
-
If the internet connection is established via a SIM card:
- Is the APN configured correctly?
- Is the SIM card activated and does it have sufficient data volume?
- Is the correct SIM PIN entered?
Flash memory
Flash memory is required for the installation and for storing configuration files. Make sure that at least 2 MB of free memory is available.
Valid time
If the Cloud Adapter does not connect despite a working internet connection, check the time of the device, as a correct time is required for secure TLS encryption. Navigate to System → Administration → Date & Time and click Sync with browser if the system time differs.